Transferring vinyl to wood is a great way to jazz up old wood cutouts and turn them into beautiful home decor. However, the process can be tricky if you’re not familiar with it. Here are 5 tips to help transfer permanent vinyl to painted wood without tearing the paint off.
We just recently finished up our live Valentine’s day workshop and had quite a few cutouts that needed to be painted. But this idea came to me when several students were having trouble transferring their designs. It was hard to transfer and made the paint start peeling.

So I decided to write up my best tips so this doesn’t happen to you next time!
By the way, the picture above is from one of our monthly club projects. So if you like this, you will love all of our other crafts!

5 Tips for Transferring Vinyl to Wood
Let the Paint Dry.
If the paint has not dried completely, any strength of transfer tape will rip the finish off. You also want to let it dry in between coats.
To speed the process up, I like to use my heat gun.
Less Sticky Tape.
Most of the time we want our transfer tape to be sticky so it transfers the best. However, not in this case.
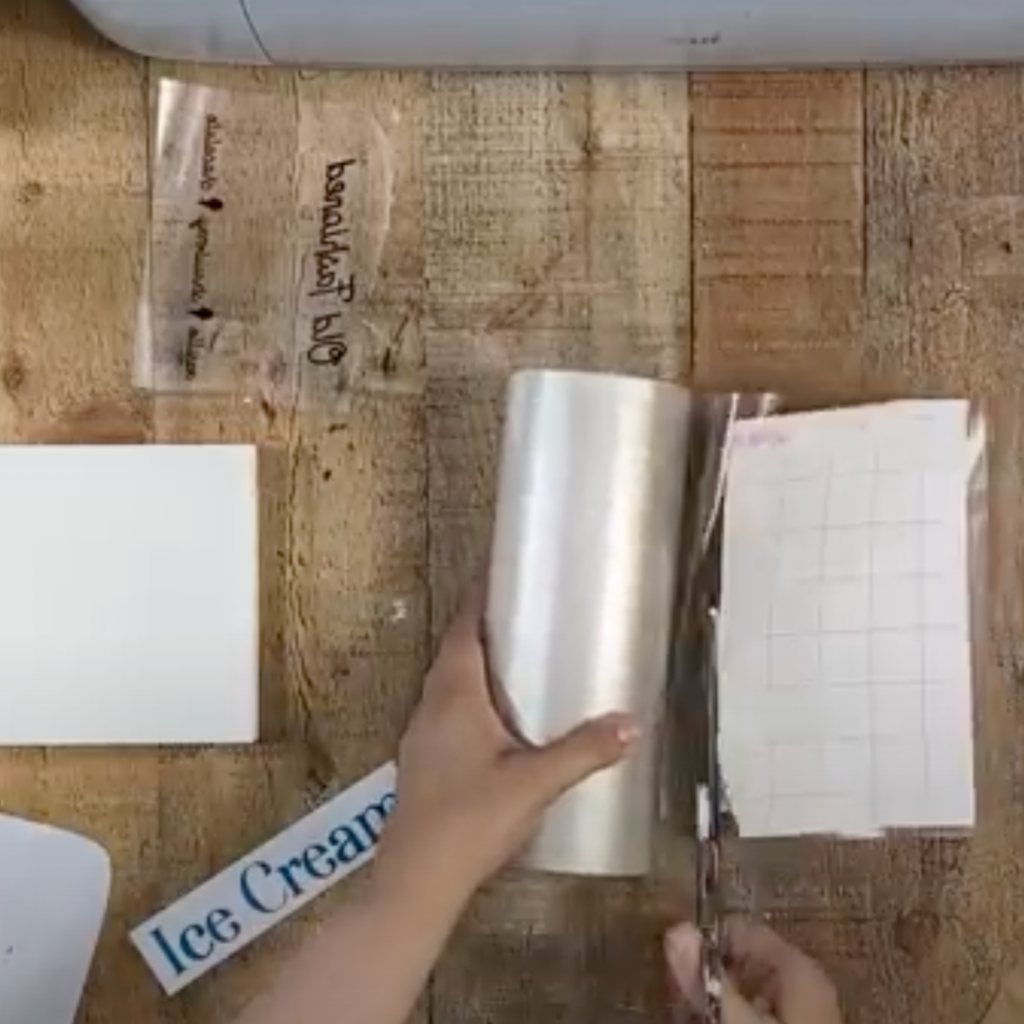
If you have a brand new piece of transfer tape, stick it to your shirt or fabric a couple of times to take some of the stickiness away.
Do Not Use Strong.
Strong transfer tape is to transfer heavier vinyl such as glitter.
For standard vinyl and when transferring to painted wood, it’s just too sticky.

More Pressure.
When transferring to a surface that is smooth and painted, you may need to use more pressure.
Make sure you are using a scraper tool or a credit card and go over the design with the tape on front and back before peeling off the paper backing.
Don’t Let the Excess Tape Touch.
If you are using a large piece of transfer tape, don’t let the excess touch the wood.
Instead hold up the edges and only allow the vinyl design. The more tape that covers the wood the more likely it’s going to peel the paint off.
Transfer Tape Review
A while back I went live on our Facebook page to test out several different brands. You can watch the replay and see which one I loved the best!
More Common FAQs
Most of the time, permanent vinyl will stick to wood, no problem. However, it does help if it is painted. If you want to keep the wood natural looking, you can sand just a little so the surface is rough and it gives the vinyl something to stick to.
First be sure you are using vinyl that is still good. Sometimes when it sits in extreme hot, cold, or humid temperatures it can lose its tackiness. Once you get it transferred, if you want to be sure it’s not going to come off, use a thin clear coat such as Mod Podge or polyurethane to seal it. Let it sit for 24 hours before using it, placing it outside, etc.
We recommend using permanent vinyl or heat transfer vinyl. Removable vinyl (631) is not meant to be permanent and is best for other applications such as on walls.
Yes! You can use any type of vinyl with your Cricut machine. However, you want to test the quality first. Not all hold up well after applying them to projects.
You want to seal your wood project after the vinyl has been transferred to the wood.
Absolutely! They have a ton of different formulas, so be sure to see which finish looks the best on your project.
Transferring vinyl to wood is a great way to personalize your home decor and bring new life to wooden surfaces. With the right preparation and technique, you can successfully apply vinyl decals to wood and enjoy a beautiful new look for years to come. Remember to use these tips next time you are painting to avoid peeling up the paint!
Happy crafting!
