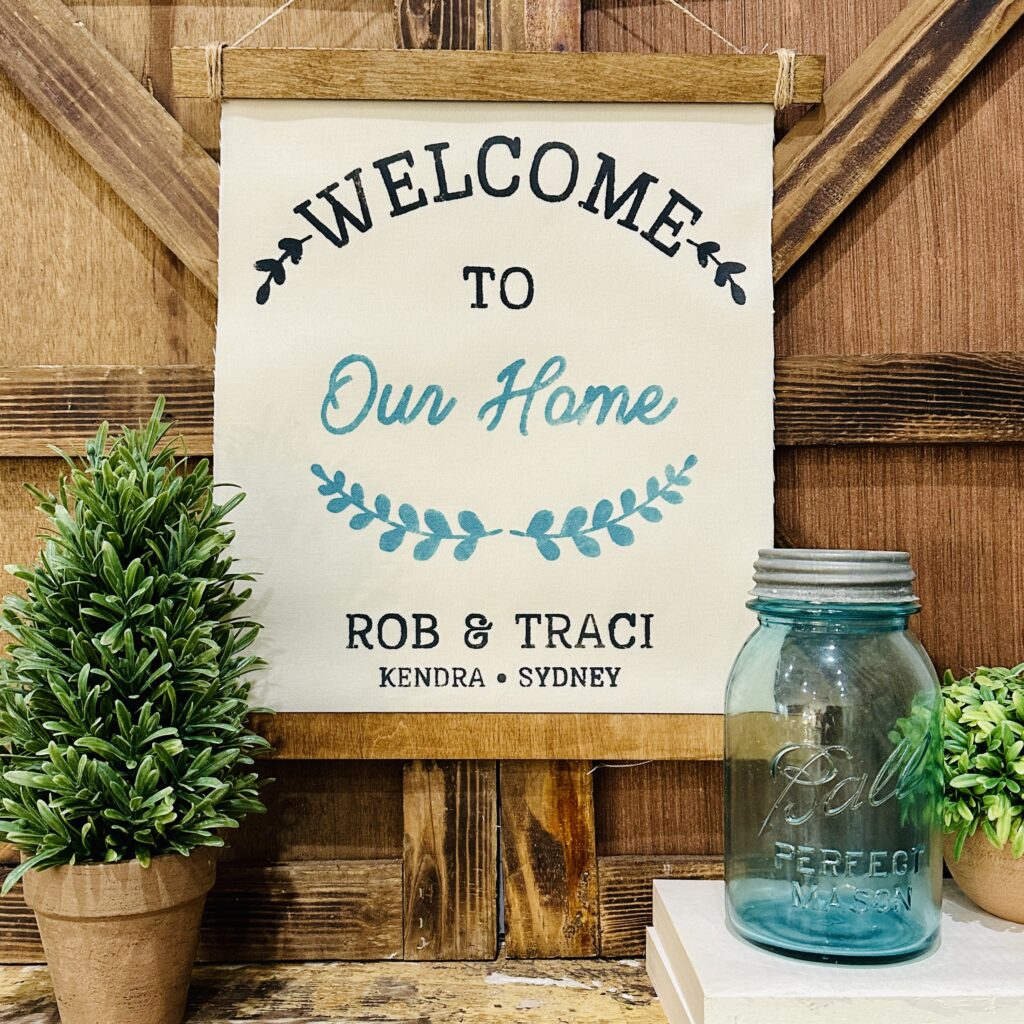
Transform your wall display with our Cricut DIY Stenciled Banner. Take our Canva template SVG design, and add your own flair using your Cricut machine. The warm color palette and charming details will bring a warm feeling to your home decor. Easy to assemble with a few basic materials. Check it out!d a sprinkle of magic to your heartfelt messages. Explore the endless crafting possibilities with our cards and make every occasion truly memorable!
Perfect for seasoned crafters and beginners alike, our DIY Hanging Banner combines vinyl stencils, wooden banner pieces, and optional seasonal greenery with minimal effort. The versatile SVG designs are cut out using your trusty Cricut machine, making the creation process a breeze. Whether you’re diving into the world of Cricut crafting for the first time or seeking a fun project to spruce up your home decor, our Hanging Banner is a delightful addition that you can create in less than an hour.
Our DIY Hanging Banner combines heavy canvas material, stencil brushes, and chalk paint with minimal effort. The versatile SVG designs, available in Cricut Design Space, are precisely cut out using your trusty Cricut machine, allowing for customization with permanent vinyl. While we’ve chosen a rustic color palette for our project, others can opt for any color preference or material. . Once you’re done with your project, don’t forget to share your craft in our community on Facebook or Instagram using #CraftWithTraci.
This post contains affiliate links. For more information, see my disclosures.
Duck Cloth – any size you want to create but this will depend on the size wood you use for top and bottom pieces.
Twine – enough to wrap around the wood several times to hang on each side – 2 yards just to be safe
4 Pieces of Wood that is an 2 inches wider than fabric –I used 12” width for my fabric and the wood will need to be 14 inches long by 1 in or more thick.
Stencil Brushes -can use a sponge or regular paint brush but we are doing a up and down dabbing motion to get the paint in the right spot so we don’t get any under the stencil and get bleeding of paint onto area of canvas we don’t want.
Paint – preferably chalk paint – I used teal and gray
Vinyl – to make the stencil, the color doesn’t matter because we are painting over it.
Unlock the door to creativity with this project, available exclusively for our members. Instantly gain access to this project and 100+ other premium projects within the Print Cut Craft membership!
This course is part of the Print Cut Craft Club Vault. The Vault is available immediately to Annual members, and will become available to Monthly members after 6 months of membership. Upgrade to Annual now to gain immediate access.
SVG Files & Downloads
Below is where you can find the SVG file(s) you need for your project, the supply list, and the printable/downloadable instruction booklet. The supply list is located in the instruction booklets AND listed above with clickable links.
Click the buttons below to download the files and instruction booklet. When downloading the files, they are in a zip file.